

- Introduction to Video
- Stream video files
- Start live streaming
- Build real-time video experiences
- Make API requests
- Play your videos
- Enable static MP4 renditions
- Download for offline editing
- Embed videos for social media
- Listen for webhooks
- Secure video playback
- Create clips from your videos
- Get images from a video
- Create timeline hover previews
- Adjust audio levels
- Add watermarks to your videos
- Add subtitles to your videos
- Minimize processing time
- Upload files directly
- Autoplay your videos
- Synchronize video playback
- Integrate with your CMS
Send and receive real-time video from a React application
Mux Real-Time Video allows you to build multi-party real-time audio and video experiences into your applications. The API abstraction for Real-Time Video is a Space. Spaces are created and managed from the server side API, and you access them via one of our client side SDKs to integrate into your React application.
In this guide:
1
Add the Spaces JS SDK to your dependencies
1
Add the Spaces JS SDK to your dependencies
Add the necessary dependencies to be able to add spaces to your web application.
2
Connect to a Space and send audio and video
2
Connect to a Space and send audio and video
Connect to a space from within your application and send local audio and video.
3
Receive audio and video from other participants
3
Receive audio and video from other participants
Receive and display audio and video from other participants.
In this guide, we’ll write a simple React-based web application using the Mux Spaces Web SDK to let two or more participants interact, in real-time. We’ll use create-react-app to build the application in this demo because it’s quick and easy, but feel free use your preferred tools if you'd prefer.
Project Bootstrapping
To begin, let's create a new directory, bootstrap our project, and add in the Spaces Web SDK as a dependency.
npx create-react-app spaces-react-example cd spaces-react-example npm install @mux/spaces-web
Now we can start our app, and Create React App will update our page each time we change a file.
npm start
Fire up your web browser, and point it at http://localhost:3000, and check you see the basic web page.
Now that we have created the basic skeleton of our application, let's replace the boilerplate App.js file with the code below. It includes a useEffect function to initialize the Space class. We've also added a join function to join the space, get & publish local audio and video tracks, and set the localParticipant in state.
Don’t forget to add your own JWT below! For more information on creating and signing the necessary JWT, see the Real-Time guide.
src/App.js import { useCallback, useEffect, useRef, useState } from "react"; import { Space, SpaceEvent } from "@mux/spaces-web"; import Participant from "./Participant"; import "./App.css"; // 🚨 Don’t forget to add your own JWT here! const JWT = "PUT_YOUR_JWT_HERE"; function App() { const spaceRef = useRef(null); const [localParticipant, setLocalParticipant] = useState(null); const joined = !!localParticipant; useEffect(() => { const space = new Space(JWT); spaceRef.current = space; }, []); const join = useCallback(async () => { // Join the Space let localParticipant = await spaceRef.current.join(); // Get and publish our local tracks let localTracks = await localParticipant.getUserMedia({ audio: true, video: true, }); await localParticipant.publishTracks(localTracks); // Set the local participant so it will be rendered setLocalParticipant(localParticipant); }, []); return ( <div className="App"> <button onClick={join} disabled={joined}> Join Space </button> {localParticipant && ( <Participant key={localParticipant.connectionId} participant={localParticipant} /> )} </div> ); } export default App;
Now let's add a Participant component by creating a new file named src/Participant.js with the contents shown below. This component gets audio and video from the microphone and camera and attaches them to a video element.
src/Participant.js import { useCallback, useEffect, useRef } from "react"; import { TrackSource } from "@mux/spaces-web"; const Participant = ({ participant }) => { const mediaEl = useRef(null); const attachTrack = useCallback((track) => { track.attach(mediaEl.current); }, []); useEffect(() => { if (!mediaEl.current) return; const microphoneTrack = participant .getAudioTracks() .find((audioTrack) => audioTrack.source === TrackSource.Microphone); const cameraTrack = participant .getVideoTracks() .find((videoTrack) => videoTrack.source === TrackSource.Camera); attachTrack(microphoneTrack); attachTrack(cameraTrack); }, [participant, attachTrack]); return ( <div> <h2>{participant.connectionId}</h2> <video ref={mediaEl} autoPlay playsInline muted style={{ width: `400px` }} /> </div> ); }; export default Participant;
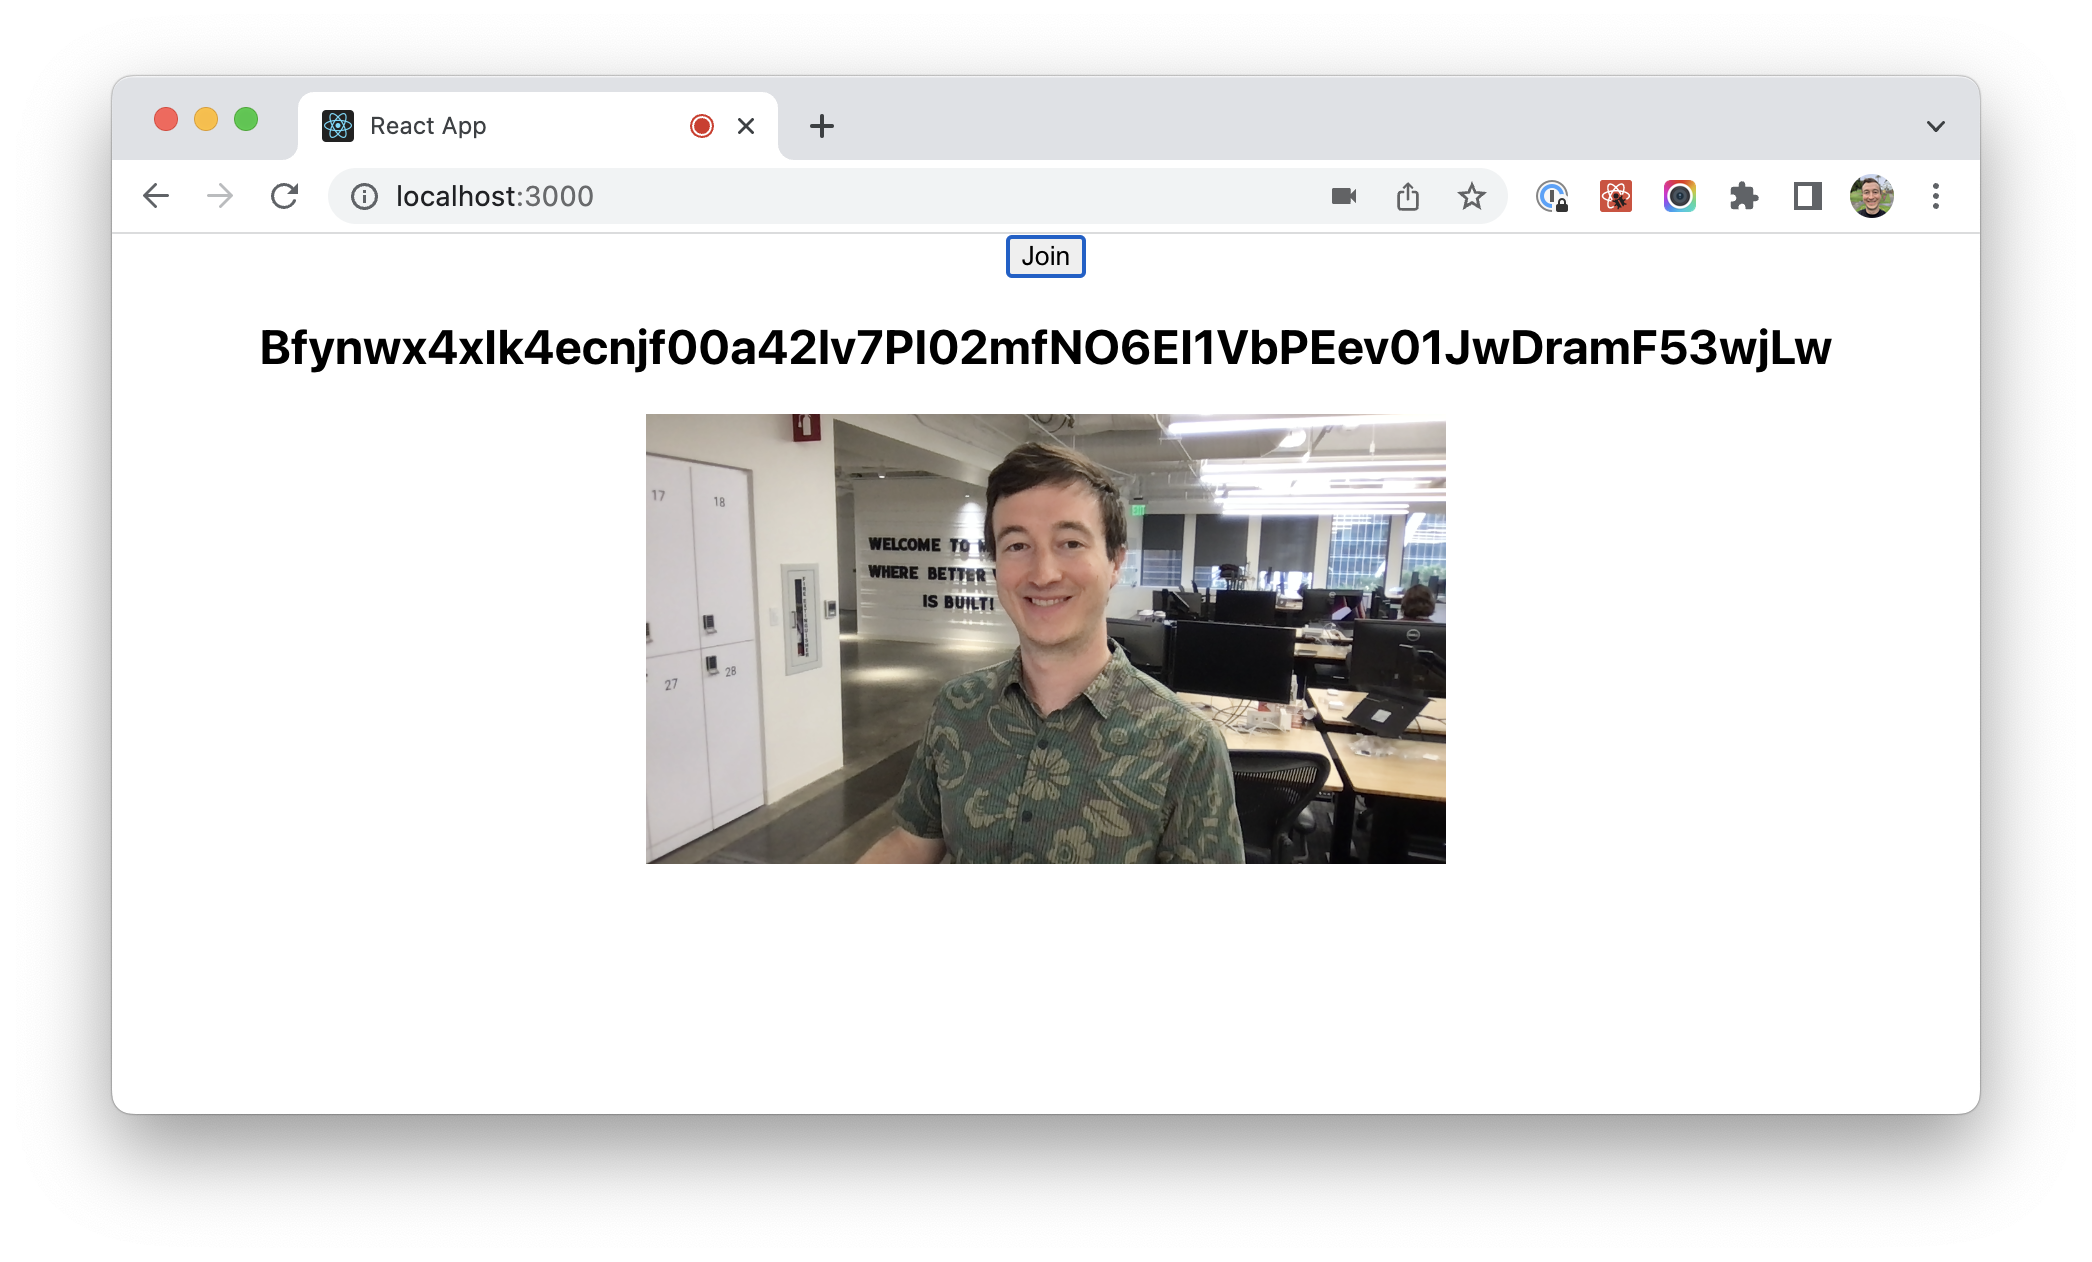
After updating the files as shown above, go back to your browser and view your application at http://localhost:3000. You should now be able to click the Join Space button, and see your local video appearing on the page. (The first time you click that button, your browser should prompt you for permissions to access your microphone and camera.) You may also want to check your browser's JavaScript console for any relevant logs. Your application should now look something like this:

Joining a space and sharing video is just the first step. Let's enable our application to receive remote participant's audio and video as well. In order to accomplish this, we will need to add a couple of callbacks in the call to the useEffect function:
SpaceEvent.ParticipantJoinedfor when a participant joins the spaceSpaceEvent.ParticipantLeftfor when a participant leaves the space
Be sure to add these callbacks after instantiating the Space class and before joining. If you add the callbacks after calling join, your application may miss some events.
src/App.js useEffect(() => { const space = new Space("PUT_YOUR_JWT_HERE"); // Setup event listeners for other people joining and leaving space.on(SpaceEvent.ParticipantJoined, addParticipant); space.on(SpaceEvent.ParticipantLeft, removeParticipant); spaceRef.current = space; return () => { // Cleanup event listeners when the component is unmounted space.off(SpaceEvent.ParticipantJoined, addParticipant); space.off(SpaceEvent.ParticipantLeft, removeParticipant); }; }, [addParticipant, removeParticipant]);
Next up, we need to add the implementation of addParticipant and removeParticipant above the call to useEffect as shown below. We'll also add a useState hook for keeping track of participants.
src/App.js // Our list of participants in React state const [participants, setParticipants] = useState([]); // Set the participant state to the current participants and the new one const addParticipant = useCallback( (participant) => { setParticipants((currentParticipants) => [ ...currentParticipants, participant, ]); }, [setParticipants] ); // Filter out the participant who left and set the participant state const removeParticipant = useCallback( (participantLeaving) => { setParticipants((currentParticipants) => currentParticipants.filter( (currentParticipant) => currentParticipant.connectionId !== participantLeaving.connectionId ) ); }, [setParticipants] );
In our render code, we add the map (as shown in the bottom have of the code below) to render the other participants' video below the video for the local participant.
src/App.js return ( <div className="App"> <button onClick={join} disabled={joined}> Join Space </button> {localParticipant && ( <Participant key={localParticipant.connectionId} participant={localParticipant} /> )} {participants.map((participant) => { return ( <Participant key={participant.connectionId} participant={participant} /> ); })} </div> );
Separately in Participant.js we will listen for the ParticipantEvent.TrackSubscribed event. Which gets triggered when a remote participant's track gets subscribed. As well as mute the video element for the local participant to avoid playing the audio from your own microphone. See Participant.js below for how this is implemented.
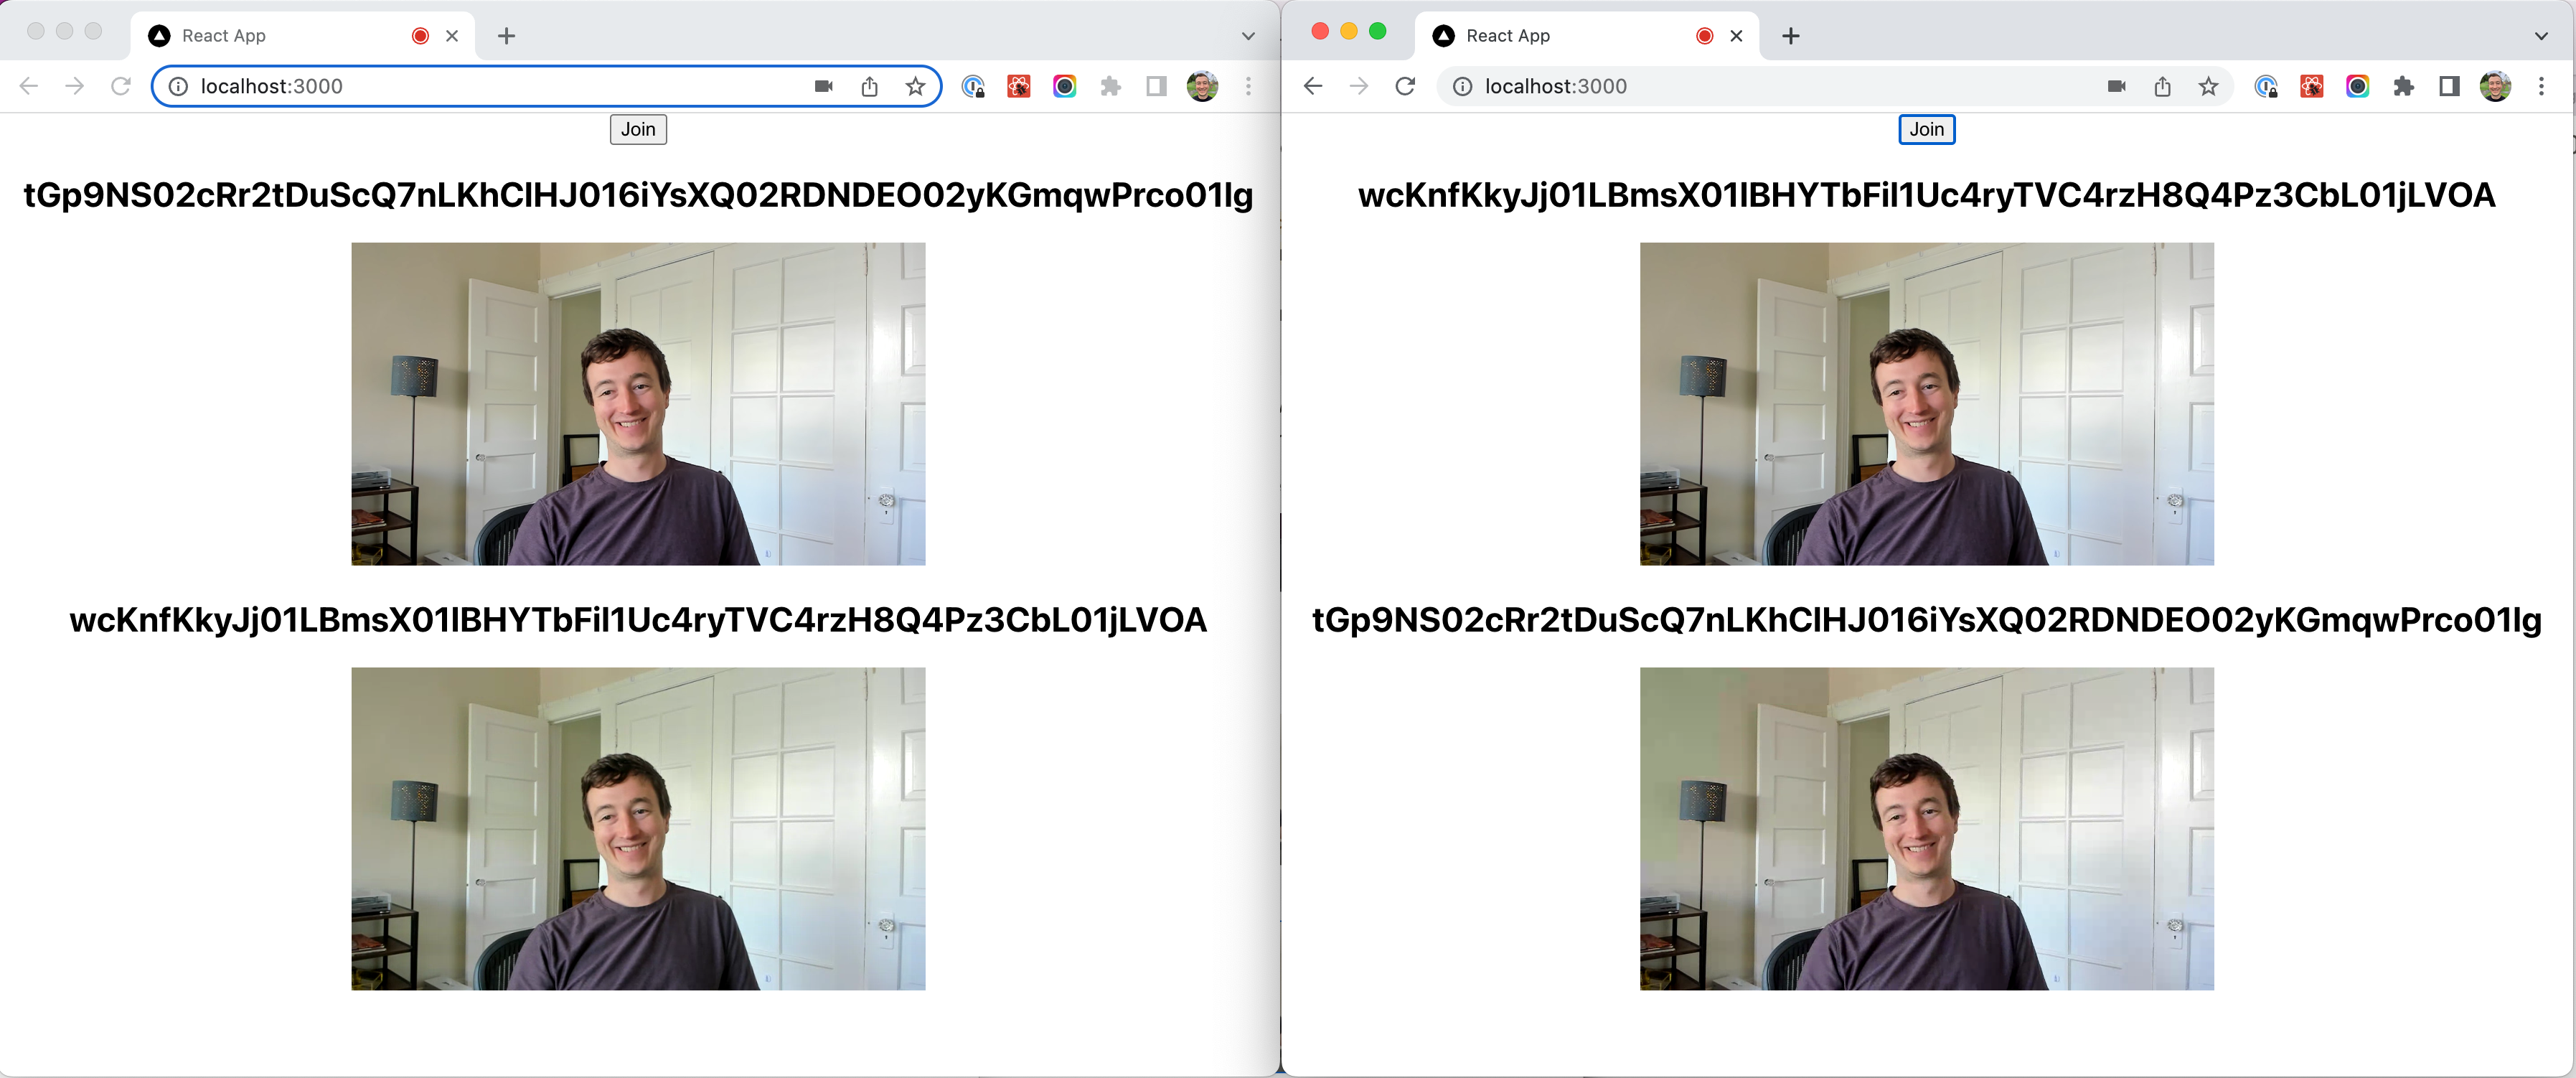
With those changes, you will have a minimal video chat application. Open two tabs in your browser to http://localhost:3000 and click "Join Space" in each of them. You should see both your local and remote video in each tab as well as hear audio from each. Opening the app from separate tabs will result in feedback, so you may want to turn down the volume.
Your application should now look something like this:

If for some reason your application isn't working correctly, you can copy and paste the entire contents of src/App.js and src/Participant.js as shown below:
Complete source code for src/App.js
src/App.js import { useCallback, useEffect, useRef, useState } from "react"; import { Space, SpaceEvent } from "@mux/spaces-web"; import Participant from "./Participant"; import "./App.css"; // 🚨 Don’t forget to add your own JWT! const JWT = "PUT_YOUR_JWT_HERE"; function App() { const spaceRef = useRef(null); const [localParticipant, setLocalParticipant] = useState(null); const [participants, setParticipants] = useState([]); const joined = !!localParticipant; const addParticipant = useCallback( (participant) => { setParticipants((currentParticipants) => [ ...currentParticipants, participant, ]); }, [setParticipants] ); const removeParticipant = useCallback( (participantLeaving) => { setParticipants((currentParticipants) => currentParticipants.filter( (currentParticipant) => currentParticipant.connectionId !== participantLeaving.connectionId ) ); }, [setParticipants] ); useEffect(() => { const space = new Space(JWT); space.on(SpaceEvent.ParticipantJoined, addParticipant); space.on(SpaceEvent.ParticipantLeft, removeParticipant); spaceRef.current = space; return () => { space.off(SpaceEvent.ParticipantJoined, addParticipant); space.off(SpaceEvent.ParticipantLeft, removeParticipant); }; }, [addParticipant, removeParticipant]); const join = useCallback(async () => { // Join the Space let localParticipant = await spaceRef.current.join(); // Get and publish our local tracks let localTracks = await localParticipant.getUserMedia({ audio: true, video: true, }); await localParticipant.publishTracks(localTracks); // Set the local participant so it will be rendered setLocalParticipant(localParticipant); }, []); return ( <div className="App"> <button onClick={join} disabled={joined}> Join Space </button> {localParticipant && ( <Participant key={localParticipant.connectionId} participant={localParticipant} /> )} {participants.map((participant) => { return ( <Participant key={participant.connectionId} participant={participant} /> ); })} </div> ); } export default App;
Complete source code for src/Participant.js
src/Participant.js import { useCallback, useEffect, useRef } from "react"; import { LocalParticipant, ParticipantEvent, TrackSource, } from "@mux/spaces-web"; const Participant = ({ participant }) => { const mediaEl = useRef(null); const isLocal = participant instanceof LocalParticipant; const attachTrack = useCallback((track) => { track.attach(mediaEl.current); }, []); useEffect(() => { if (!mediaEl.current) return; const microphoneTrack = participant .getAudioTracks() .find((audioTrack) => audioTrack.source === TrackSource.Microphone); const cameraTrack = participant .getVideoTracks() .find((videoTrack) => videoTrack.source === TrackSource.Camera); if (microphoneTrack) { attachTrack(microphoneTrack); } if (cameraTrack) { attachTrack(cameraTrack); } participant.on(ParticipantEvent.TrackSubscribed, attachTrack); return () => { participant.off(ParticipantEvent.TrackSubscribed, attachTrack); }; }, [participant, attachTrack]); return ( <div> <h2>{participant.connectionId}</h2> <video ref={mediaEl} autoPlay playsInline muted={isLocal} style={{ width: `400px` }} /> </div> ); }; export default Participant;