

- Introduction to Video
- Stream video files
- Start live streaming
- Build real-time video experiences
- Make API requests
- Play your videos
- Enable static MP4 renditions
- Download for offline editing
- Embed videos for social media
- Listen for webhooks
- Secure video playback
- Create clips from your videos
- Get images from a video
- Create timeline hover previews
- Adjust audio levels
- Add watermarks to your videos
- Add subtitles to your videos
- Minimize processing time
- Upload files directly
- Autoplay your videos
- Synchronize video playback
- Integrate with your CMS
Send and receive real-time video from a web application
Real-time video allows you to build multi-party real-time video experiences into your applications. The API abstraction for real-time video is a Space. Spaces are created and managed from the server side API, and you access them via one of our client side SDKs to integrate into your application.
In this guide:
1
Add the Spaces JS SDK to your dependencies
1
Add the Spaces JS SDK to your dependencies
Add the necessary dependencies to be able to add spaces to your web application.
2
Connect to a Space
2
Connect to a Space
Connect to a space from within your application.
3
Send video and audio
3
Send video and audio
Send your video and audio to the space.
4
Receive video and audio from other participants
4
Receive video and audio from other participants
Receive video and audio from other partipants in the space.
In this guide, we’ll write a simple web application using the Mux Spaces Web SDK to let two or more participants interact, in real-time. This exercise will help you understand how to add real-time video to your own applications.
We’ll use parcel to build this application because it makes it quick and easy to build a simple web application, but if you have a preferred tool, feel free to use it instead.
Project Bootstrapping
To begin, let's create a new directory and bootstrap a simple node project using parcel, and add the Spaces Web SDK as a dependency.
mkdir spaces-example cd spaces-example yarn add --dev parcel yarn add @mux/spaces-web
Basic HTML and CSS
First, let’s add a simple HTML page with a video element for our own video, and a placeholder div for our remote participants, and pull in an empty JavaScript file where most our code will live.
src/index.html <!doctype html> <html lang="en"> <head> <meta charset="utf-8"/> <title>Spaces Demo</title> <script type="module" src="app.js"></script> </head> <body> <h1>Controls</h1> <button id="join-button">Join Space</button> <h1>Local Video</h1> <video id="local-video" autoplay controls muted style="width: 400px"></video> <h1>Remote Videos</h1> <div id="remote-videos"></div> </body> </html>
Next, let’s just also add some JavaScript boilerplate for our application too, including references to some of the DOM objects.
src/app.js import { Space, SpaceEvent, TrackSource } from "@mux/spaces-web"; const localParticipantEl = document.getElementById('local-video'); const participantsEl = document.getElementById('remote-videos'); // Add a callback for the "Join" button document.getElementById('join-button').addEventListener('click', e => { e.target.disabled = true; join(); }) async function join() { }
We can now start our app and parcel will update our page each time we change a file.
yarn parcel src/index.html
Fire up your web browser, point it at http://localhost:1234, and check to ensure that the basic web page appears.
Next up, let’s fill out the implementation of join to instantiate our space, and then connect to the real-time space.
Don’t forget to add your own JWT below! For more information on creating and signing the necessary JWT, see the real-time guide.
src/app.js async function join() { // Instantiate our space let space = new Space('PUT_YOUR_JWT_HERE'); // Join the Space let localParticipant = await space.join(); }
As you can see, joining a space is quite simple.
Joining a space is just the first step. Next, let's start sending our audio and video (referred to as tracks) to the space. To do this, we'll expand our join method as shown below. We use the getUserMedia call to gain access to the microphone and camera, publish the local tracks, and attach each track to the localParticipantEl element, which is the video player showing our own local audio and video.
src/app.js async function join() { // Instantiate our space let space = new Space('PUT_YOUR_JWT_HERE'); // Join the Space let localParticipant = await space.join(); // Publish and display our local tracks let localTracks = await localParticipant.getUserMedia({ audio: true, video: true }); await localParticipant.publishTracks(localTracks); localTracks.forEach(track => { track.attach(localParticipantEl); }); }
After updating the src/app.js file as shown above, go back to your browser and view your application at http://localhost:1234. You should now be able to click the Join Space button, and see your local video appearing on the page. (The first time you click that button, your browser should prompt you for permissions to access your microphone and camera.) You may also want to check your browser's JavaScript console for any relevant logs. Your application should now look something like this:

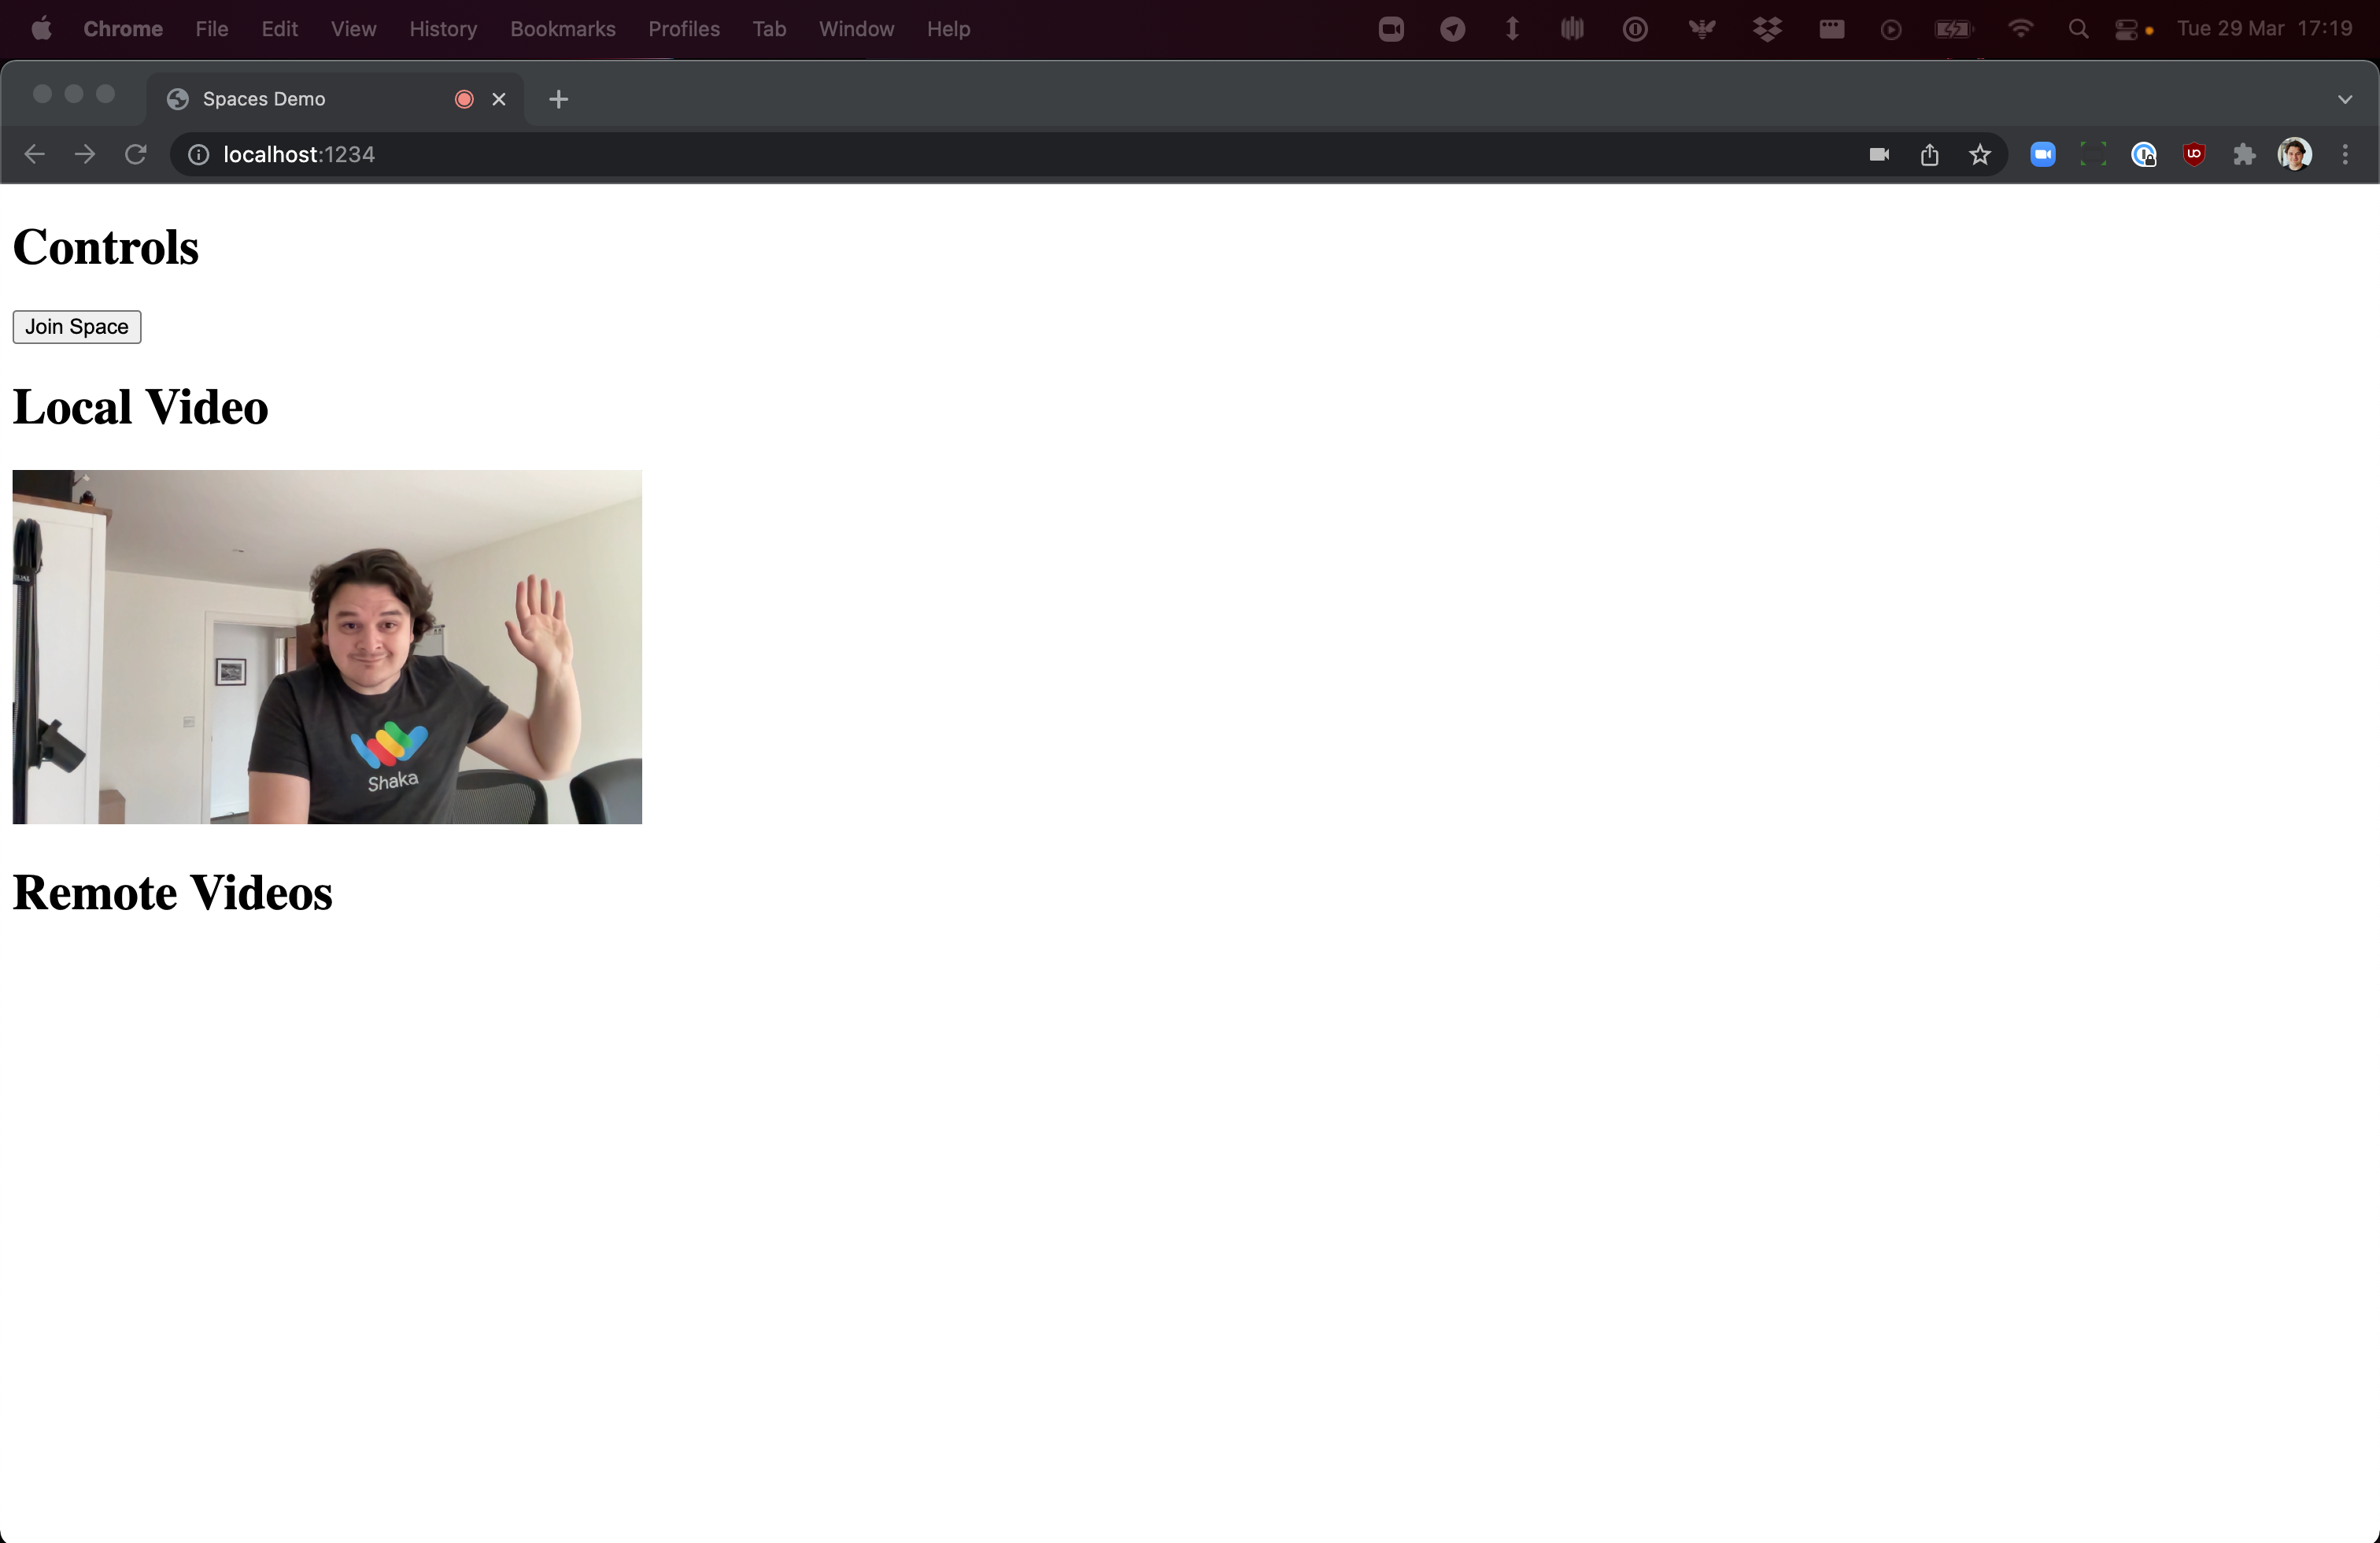
If for some reason you're not able to see your video at this point, check to ensure that you've allowed your browser to access your microphone and camera. If you get an error in the JavaScript console in your browser that says JWTError: invalid jwt, please refer to Sign a JWT for more information on properly signing your JWT.
Now let’s get some video (and audio) from other participants in the space. First, we’ll add a couple of callbacks before we join the space to listen for the following events:
SpaceEvent.ParticipantTrackSubscribedfor when media is available from a participantSpaceEvent.ParticipantLeftfor when a participant leaves a space
Be sure to add these callbacks to the code flow before you join the space. If you join the space and then add the callbacks, your application will not work as expected.
src/app.js async function join() { // Instantiate our space let space = new Space('PUT_YOUR_JWT_HERE'); // Setup event listeners for other people joining and leaving space.on(SpaceEvent.ParticipantTrackSubscribed, addTrack); space.on(SpaceEvent.ParticipantLeft, removeParticipant); // Join the Space let localParticipant = await space.join(); // Publish and display our local tracks let localTracks = await localParticipant.getUserMedia({ audio: true, video: true }); await localParticipant.publishTracks(localTracks); localTracks.forEach(track => { track.attach(localParticipantEl); }); }
After that's in place, we can add the implementation of addTrack and removeParticipant below the join function. The addTrack
method does as its name implies -- it adds a <video> element to the page when a remote track is available. The removeParticipant
method does the opposite -- it removes the <video> element from the page when a remote participant leaves the video chat.
// Creates or Updates a <video> element in the page when a participant's track becomes availiable async function addTrack(participant, track) { let remoteVideo = document.getElementById(participant.connectionId); if (!remoteVideo) { el = document.createElement('video'); el.id = participant.connectionId; el.width = 400; el.autoplay = true; el.controls = true; participantsEl.appendChild(el); remoteVideo = el; } track.attach(remoteVideo); } // Removes the appropriate <video> element from the page when a participant leaves async function removeParticipant(participant) { participantsEl.removeChild(document.getElementById(participant.connectionId)); }
So let’s give that a whirl! Connect to your app in two separate browser tabs, and click Join Space in both of them, and you should see both your local and remote video. (You might want to mute your audio as you do that, or you're likely to get some audio feedback!)
If you've carefully followed the code examples above, you’ll see something that looks like this:
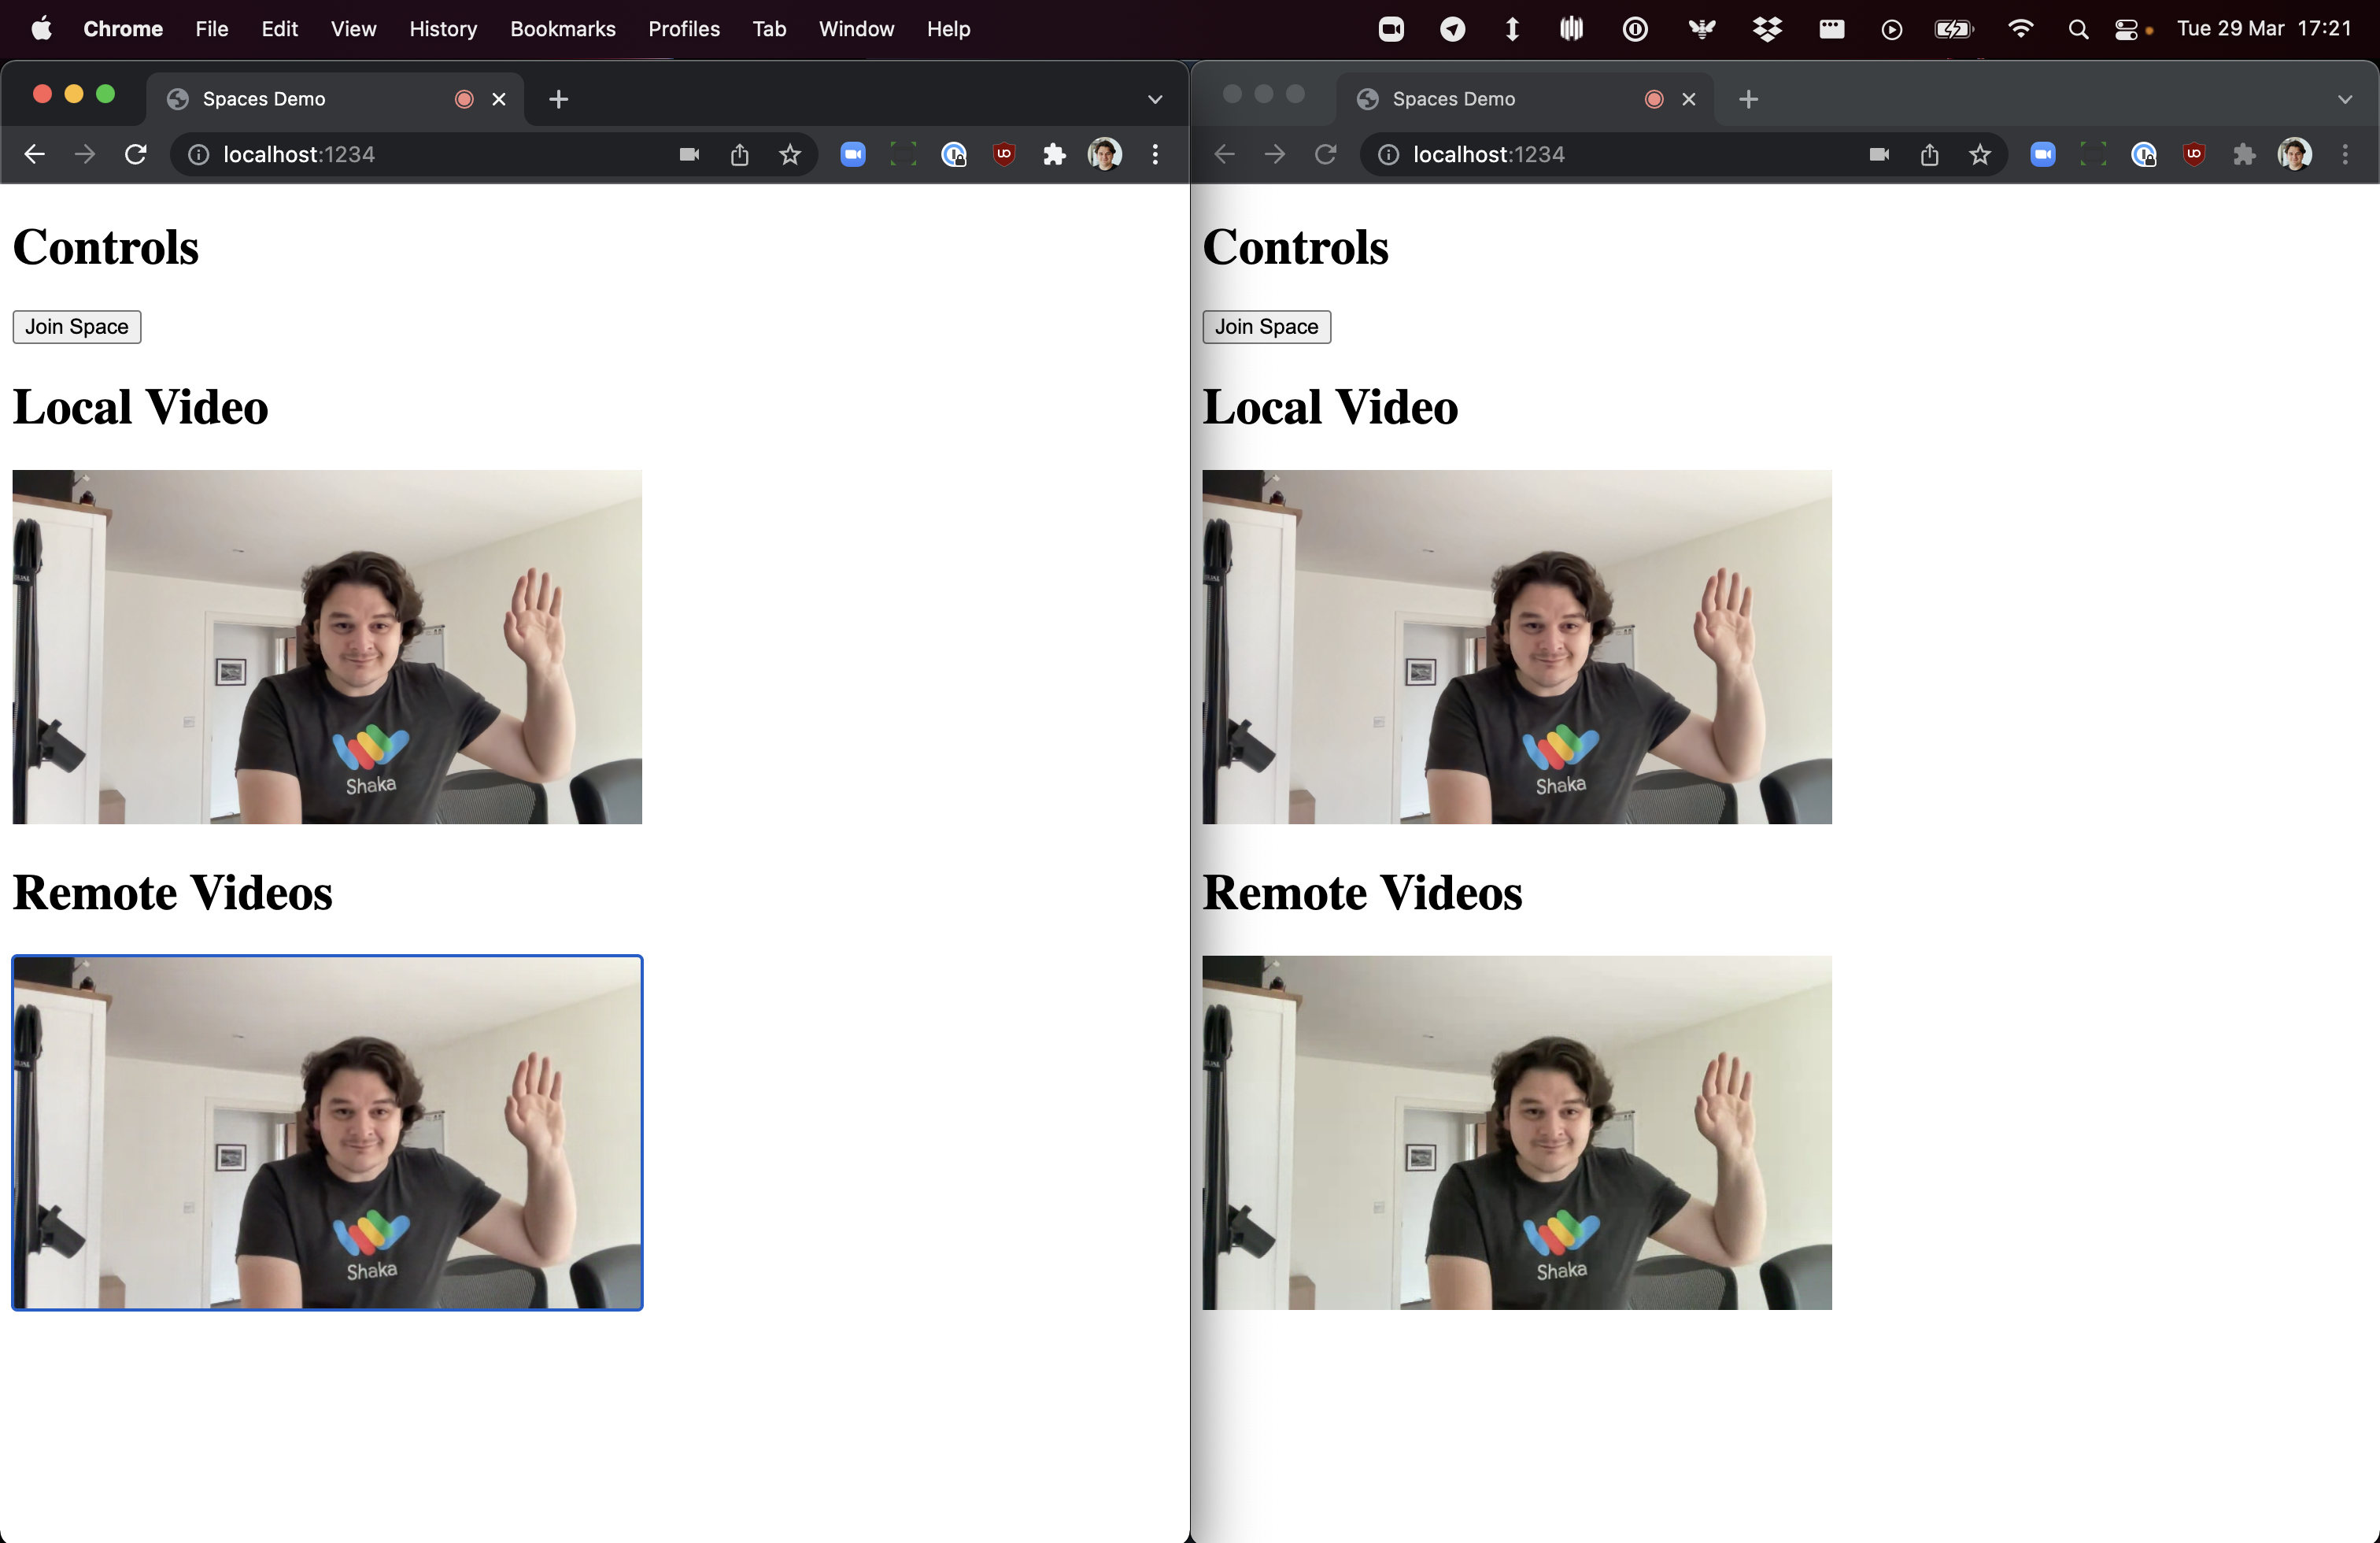
Now we're making solid progress! We've essentially built a simple video-conferencing application. If you open up more tabs, you should obviously see more remote participants in each tab! Next, let's dive into broadcasting your space to a live stream.